
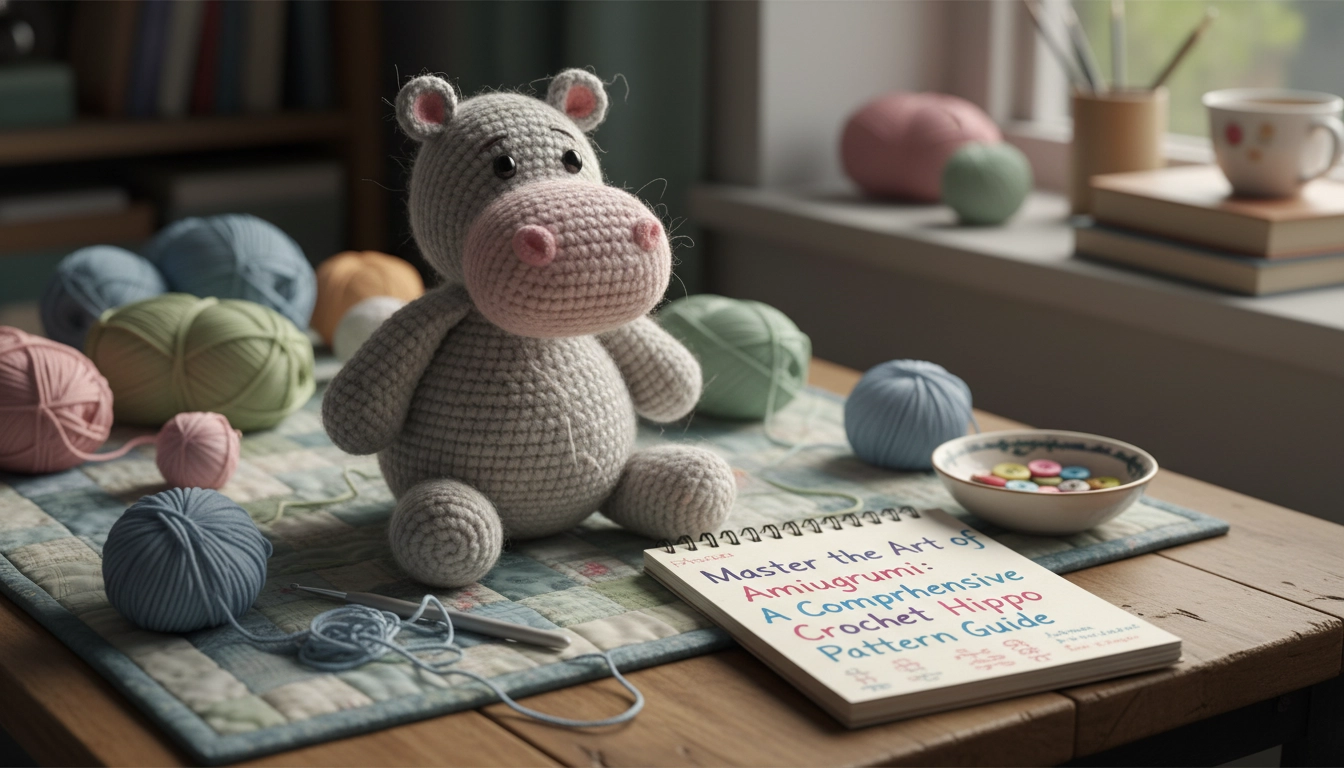
Look, if your hippo snout looks like a deflated balloon after three weeks, it is not the stuffing—it is your tension. It is the math. Most people treat a Crochet Hippo Pattern like some loose suggestion, but it is actually an architectural blueprint for weight distribution and surface tension. I see these geometric challenges everywhere. When I was visiting Kim Castillo at her studio on Preston Rd in Santa Ana, we were looking at a piece that had completely lost its structural integrity. It just sagged. Heartbreaking, really. To create a hippo that actually maintains that iconic, bulky silhouette, you have to stop thinking about loops and start thinking about the architecture of the stitch. It is about density. It is about making sure that grey yarn behaves like a solid mass, not a porous bag. I often use AI image generators just to visualize how light hits a hippo's flank before I even pick up a hook—that is how you bridge the gap between a hobby and fine art.
Understanding the Crochet Hippo Pattern Basics
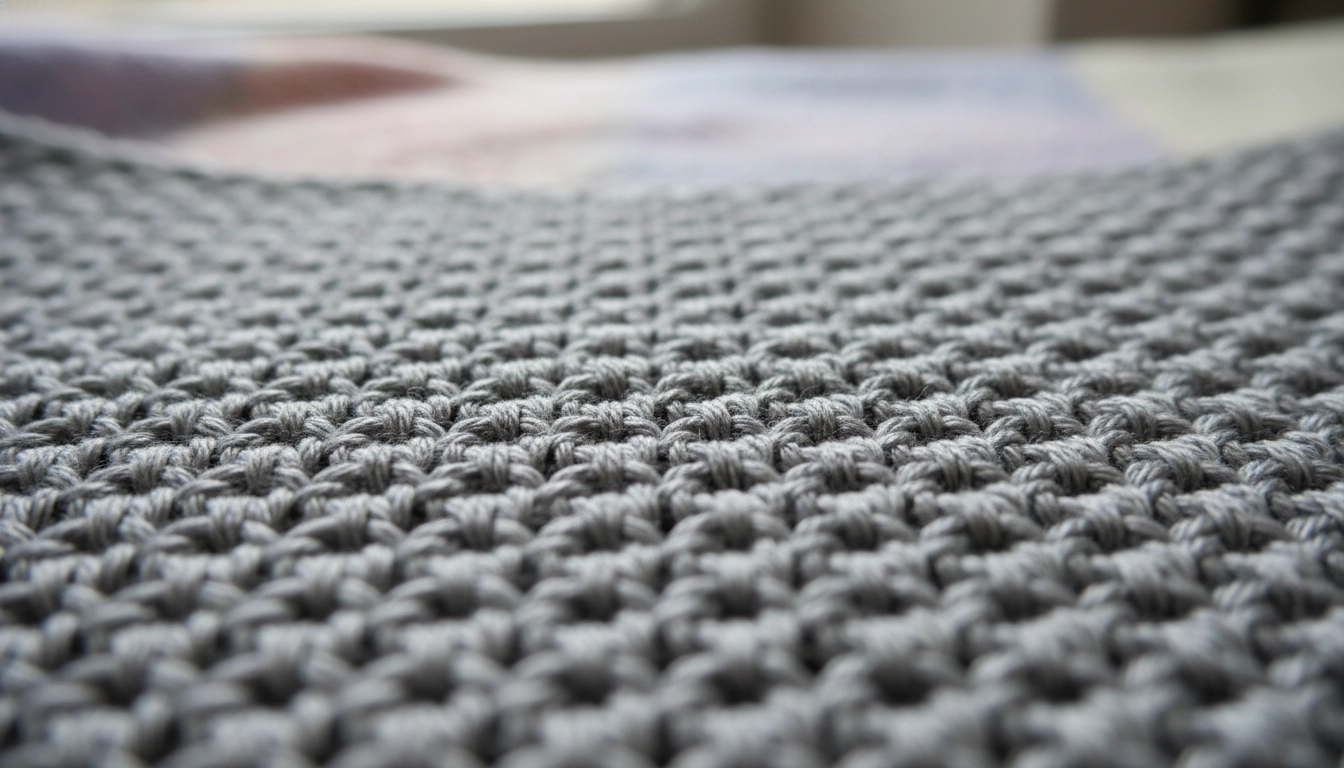
High-quality amigurumi requires a dense fabric to ensure the stuffing remains completely hidden.
A Crochet Hippo Pattern is basically a technical blueprint. We are using the amigurumi technique to build a three-dimensional river mammal, and if you are not working in tight, continuous rounds, you are doing it wrong. The hook needs to be small. Very small. We need a dense, sculptural fabric that completely hides the stuffing. If I can see white polyester peeking through your grey stitches, the illusion is ruined.
You are manipulating increases and decreases to turn a sphere into a complex, multi-planar face. I call this textural poetry. We are not just making a blob. We are defining a powerful jaw. We are sculpting rounded haunches. We are placing those tiny, delicate ears. It is about how these shapes interact in space. That is the first step to making something professional. Something that looks like it belongs in a gallery, not a bargain bin.
Materials and Tools Needed
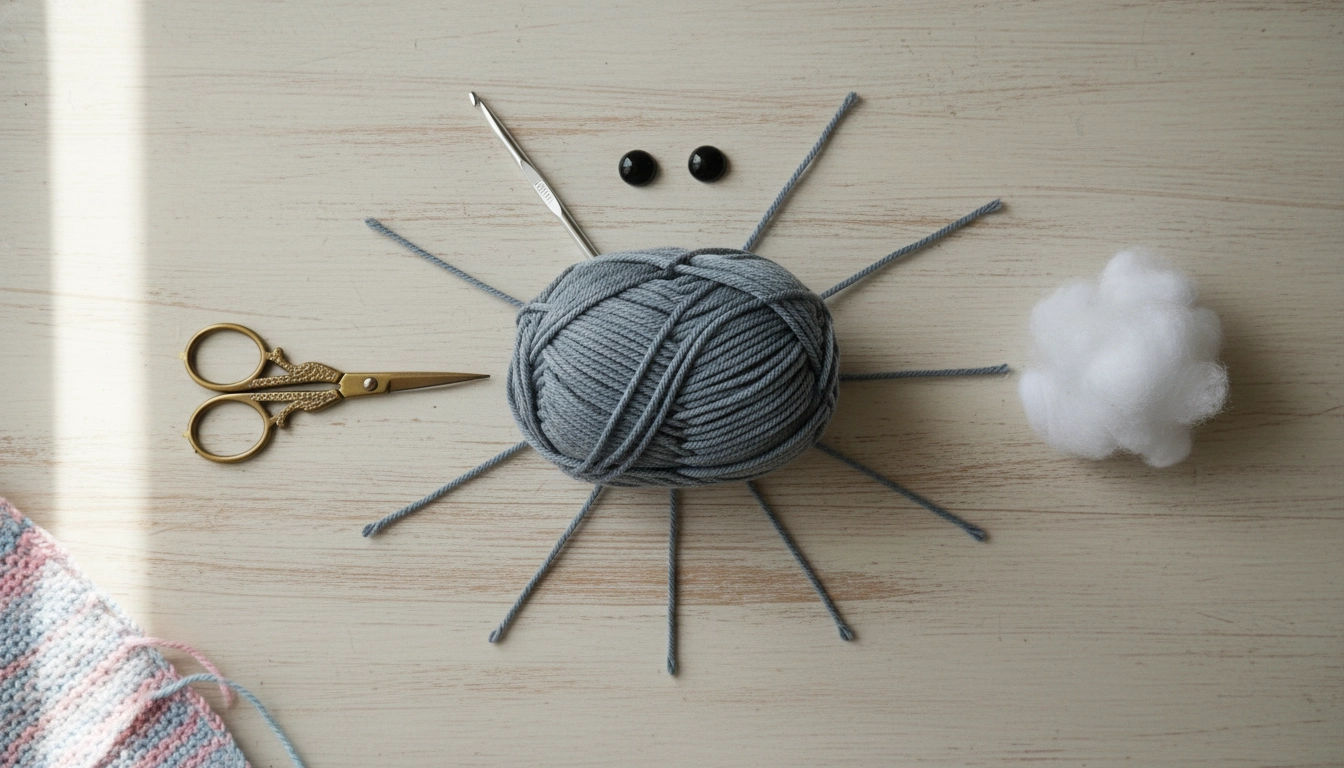
Choosing the right tools, like a 3.25mm hook and mercerized cotton, is the first step toward a professional finish.
Material selection is intentional. It is everything. If you pick a cheap, fuzzy yarn for this Crochet Hippo Pattern, you are going to lose all that beautiful stitch definition. I am obsessed with gauge. I practically dream about it.
I have spent years testing how different fibers hold up to the rigors of heavy stuffing, so I put together this comparison to help you choose the right skeleton for your hippo.
| Fiber Type | Durability | Stitch Definition | Best Use |
|---|---|---|---|
| Mercerized Cotton | High | Excellent | Professional Gallery Pieces |
| Cotton-Acrylic Blend | Medium | Good | Playable Toys |
| Standard Acrylic | Low | Fair | Practice Projects |
| Chenille | Low | Poor | Oversized Snuggle Toys |
My Take
Stick with the mercerized cotton if you want that crisp, architectural look that defines high-end amigurumi.
1. Yarn: 100 grams of Medium Weight (Level 4). I prefer a mercerized cotton or a very high-end acrylic blend. Go for Dusty Blue or Slate Grey.
2. Hook: 3.25mm (D). This is non-negotiable. We need a stiff fabric.
3. Stuffing: Premium polyester fiberfill. Don't buy the cheap stuff that clumps.
4. Eyes: 10mm safety eyes.
5. Tools: Large-eye tapestry needle, stitch markers, and the sharpest embroidery scissors you own.
The Importance of Hook Size
Always choose a hook size that is at least 1.0mm smaller than what the yarn label recommends. This ensures your 'Crochet Hippo Pattern' results in a fabric tight enough to prevent stuffing from leaking through the stitches.
Crochet Abbreviations and Technical Basics
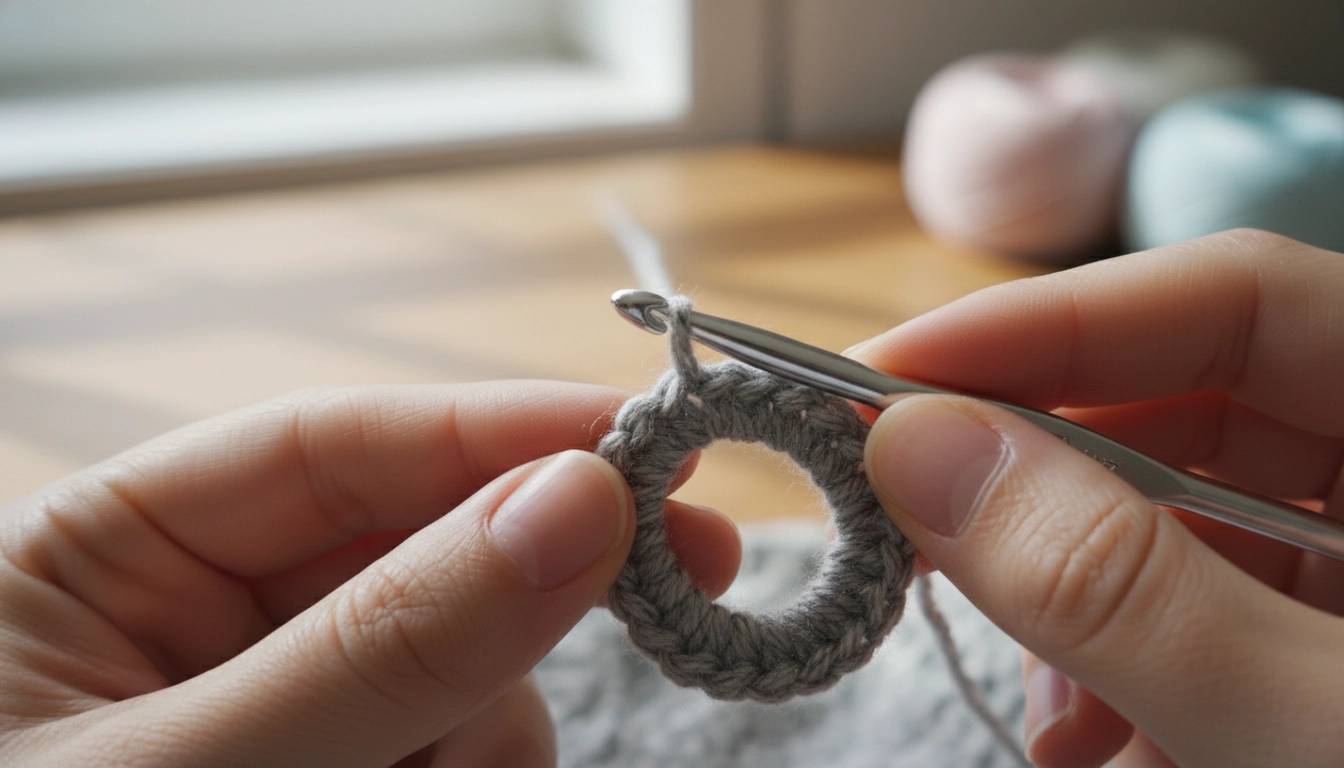
The magic ring is the architectural foundation of every piece in this pattern.
Precision in reading these instructions is what separates a novice from an Amigurumi Architect. If you don't follow the technical execution, the math fails. The geometry fails. Everything fails.
When you look at the math behind the head and body, you can see exactly where the structural tension is concentrated.
My Take
The body carries the most weight, so ensuring your tension is consistent there is the absolute priority for a balanced finish.
1. ch: chain
2. sc: single crochet
3. inc: increase (two sc in one st)
4. dec: invisible decrease (front loops only—always)
5. st: stitch
6. MR: magic ring
Avoid Standard Decreases
In amigurumi, a standard decrease creates a visible gap. Always use the 'invisible decrease' method to maintain a smooth, professional surface texture on your hippo.
Step-by-Step Instructions for the Hippo

Once you have completed the individual pieces, you can see the hippo’s structural geometry begin to take shape.
Follow these counts. Exactly. Don't eyeball it. Your Crochet Hippo Pattern depends on the ratio of the head to the body. If the snout is too heavy and the neck is too weak, it will droop.
How to Assemble Your Crochet Hippo Pieces
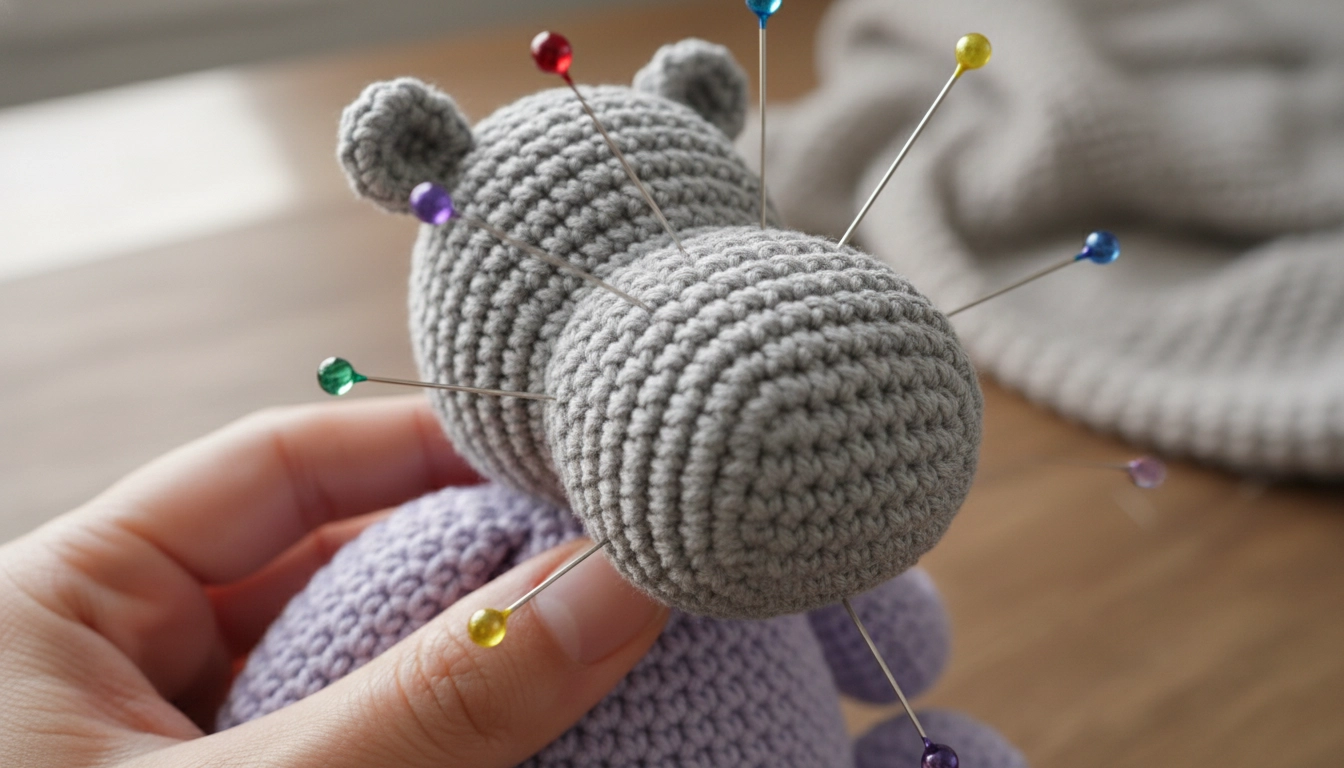
Always pin your pieces and check for balance before committing to the final sewing.
This is where your technical skill either makes or breaks the project. Most people rush this. They just slap the snout on. Don't do that. You have to center it perfectly between the eyes. Stuff it until it feels like a firm fruit—not soft, not squishy. If it collapses, the whole Crochet Hippo Pattern is compromised.
Even the best architects run into site issues; here is how to fix the most common structural failures I see in hippo construction.
| Symptom | Likely Cause | Structural Fix |
|---|---|---|
| Drooping Snout | Under-stuffing | Pack fiberfill firmly until no wrinkles remain |
| Visible Stuffing | Hook size too large | Downsize hook by 0.5mm and restart |
| Wobbly Standing | Uneven leg placement | Pin and test balance before final sewing |
| Lopsided Face | Asymmetrical eye placement | Use a stitch counter to center eyes from the MR |
My Take
If you see gaps, don't just keep going; rip it back and drop a hook size—it is the only way to save the integrity of the piece.
Attach the head to the narrow end of the body. Use locking stitch markers to pin the legs. Seriously. Pin them, then stand the hippo up. Does it wobble? If it wobbles, move the pins. It should stand with authority. Sew the legs wide for stability. Then ears. Then tail. It is an exercise in patience.
Expert Tips for the Perfect Amigurumi Finish

Small details, like embroidered nostrils and thread-sculpted eye sockets, give your hippo its unique personality.
You want masterclass-level results? Focus on the face. The face is the soul. Take some pink yarn and embroider two small nostrils. It adds depth. It makes the piece feel intentional.
Symmetry Check
Before sewing any piece permanently, use long glass-headed pins to position everything. Step back and look at the hippo from a distance of three feet to ensure the proportions are balanced.
Try sculpting with thread. This is my favorite trick. After you stuff the head, take a long strand of matching yarn and pull the eyes slightly inward toward each other. It creates eye sockets. Suddenly, your hippo is not just a toy; it has an expressive, soulful gaze. It has personality.
Creative Ways to Customize Your Finished Hippo

Once you master the basic pattern, experiment with different colors and yarn textures to create a whole hippo family.
Mastered the basic Crochet Hippo Pattern? Good. Now play. I love using AI to brainstorm artistic variations—like, what would a hippo look like if it were made of water? Use variegated yarn to get that mottled effect. Or add a tiny striped scarf. It is a whimsical touch, but keep it professional.
Try chunky chenille if you want something modern and oversized. The principles of geometry don't change just because the yarn is thicker. The math is the same. The obsession with gauge is the same.
Conclusion
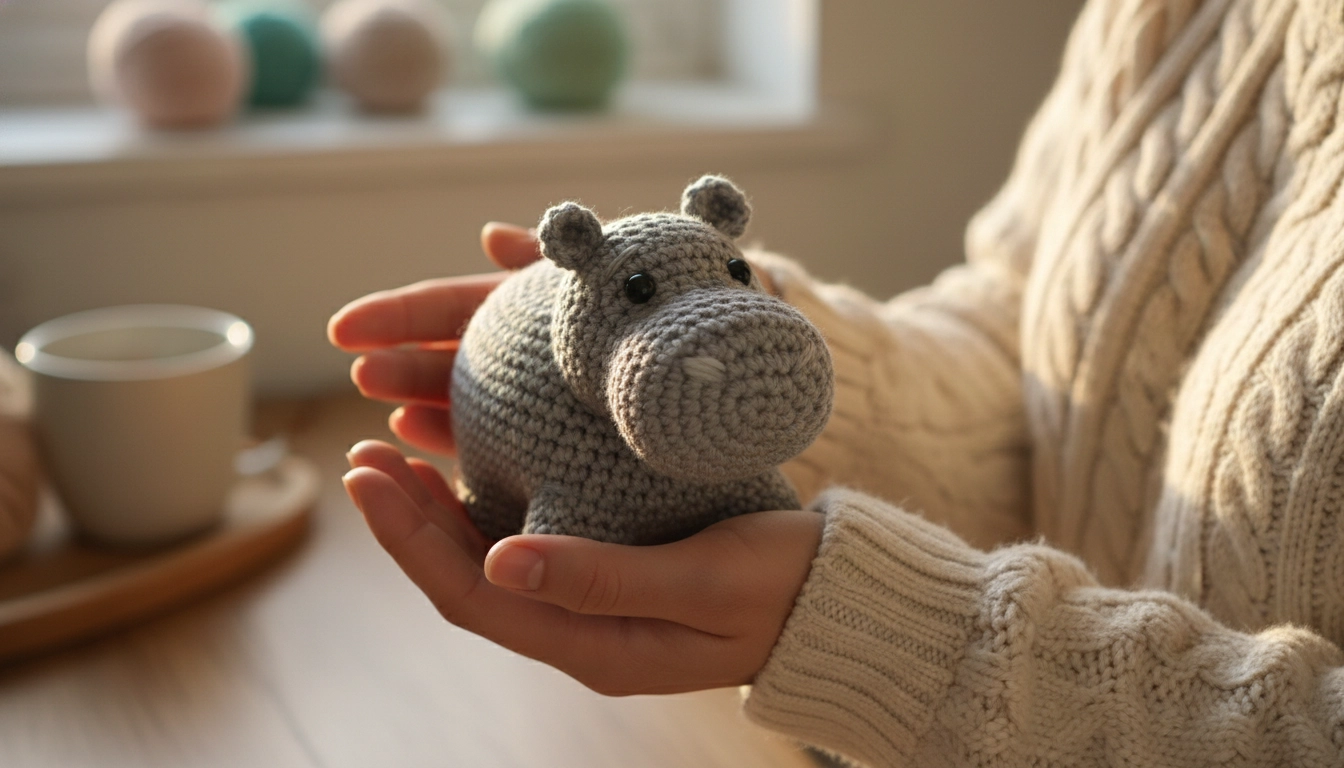
Your finished hippo is a testament to your dedication to the craft and the "small things.
Amigurumi is more than just a craft; it is a structural exploration. When you follow this Crochet Hippo Pattern, you are turning a literal string into a sophisticated, three-dimensional form. Every single stitch is a choice. Every choice is part of the final architecture.
Share what you make. Seriously. Post it. Let us push the boundaries of what a single hook can do. Your dedication to the small things—the tension, the density, the symmetry—is what makes your work stand the test of time.